
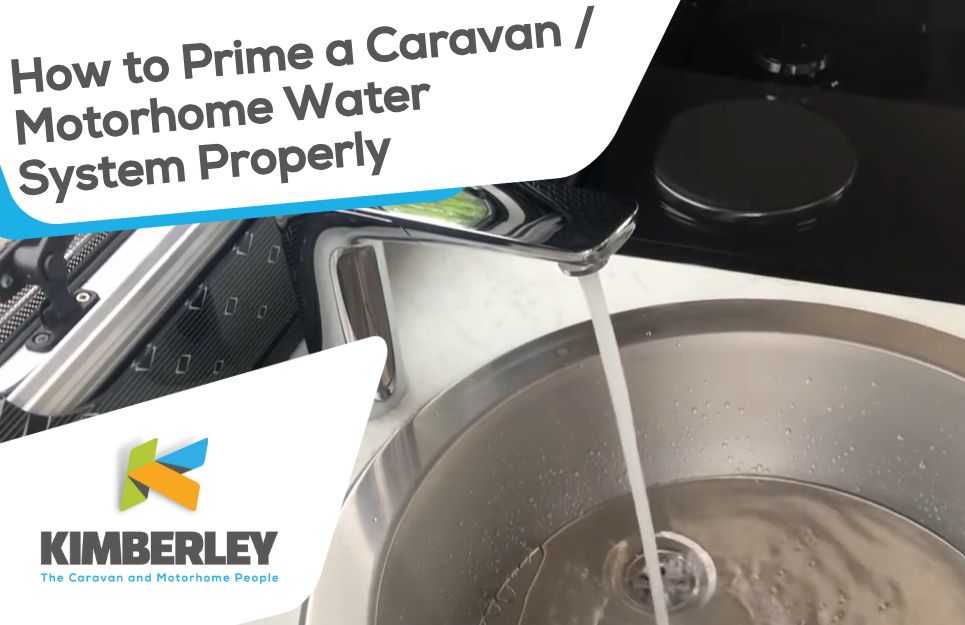
So, you’ve just got to the site. The kettle’s ready, the sunset’s putting on a show—and then you turn the tap and… nothing. Maybe a dribble. Maybe a worrying buzz from the pump. Either way, not exactly the start you were hoping for.
Whether it’s your first tour or your fiftieth, priming the water system in your caravan or motorhome is one of those “small jobs” that’s oddly easy to get wrong—but incredibly satisfying when you get it right.
We actually made a video on this a while ago (watch it here) and it’s still one of the most-viewed guides we’ve ever posted. Why? Because it’s one of those tasks nobody really teaches you properly—until something goes wrong.
Let’s fix that.
In plain English? It means getting water from your tank through to your taps.
But more specifically, priming is about:
Getting water flowing smoothly through the pump
Clearing out any trapped air in the system
Making sure your boiler (if you have one) is filling correctly
Checking for leaks or loose connections before you need the loo at 2am
Think of it like bleeding a radiator crossed with setting up a fish tank—with fewer bubbles and more swearing if it goes wrong.
Honestly, more often than you think. Here’s when you’ll usually need to do it:
After draining down for winter
When using your caravan/motorhome for the first time in a while
After replacing a pump, tap or pipe
When air’s been introduced into the system (accidentally or otherwise)
So if your tourer’s been sat in storage for a couple of months, priming the system isn’t just a good idea—it’s non-negotiable.
Here’s the thing: every setup’s a little different. But whether you’ve got a Swift motorhome with an onboard tank or a Bailey caravan with an Aquaroll and a submersible pump, the principles are the same.
Here’s a step-by-step you can count on.
Let’s start simple. Whether it’s an Aquaroll or an inbuilt tank, make sure it’s full—or at least got enough in it for the system to draw from. And yes, make sure it’s clean (you’d be amazed how quickly biofilm builds up in a neglected container).
This might be an external submersible (like Truma or Whale) or a fixed internal one. Plug it in securely and turn on the water pump from your main control panel or switch.
If you’re using an onboard tank, make sure any isolation valves are open—otherwise your pump will just sit there humming to itself.
Now here’s the key: open every tap fully, one at a time. Kitchen, bathroom, shower—don’t forget the shower!
Start with cold water only. Why? Because cold flows direct from the tank and pump. Opening the hot side first can cause backpressure and more airlocks. You’ll usually hear the pump labouring a bit at first, maybe some spluttering and hissing—totally normal.
Let each tap run until the water flows smoothly, without bubbles or spurts. You’re pushing air out of the system, bit by bit.
Once cold is sorted, repeat the process with the hot taps.
This is where your water heater (usually a Truma or Alde unit) comes into play. When you open the hot tap, you’re drawing cold water into the boiler and forcing air out. Again, expect gurgling, maybe even a pause before anything happens.
Let it run until the flow is smooth and consistent. If your boiler has a pressure relief valve, check it’s not dribbling or hissing. If it is, it might just need reseating.
Sounds obvious, but after every prime, take a moment to check under sinks, around pipe joins, and beneath the van (in case of a failed drain point). Catching a leak early saves a lot of grief later.
Check the pump’s getting power
Confirm any isolation or drain valves are closed
Double-check the pipework isn’t kinked or blocked
You may still have air in the system—run the taps again
There could be a minor leak the pump’s trying to compensate for
Some pressure switch systems just need a tweak—refer to your manual
Airlocks are likely—leave the tap open a bit longer
Check filters in the pump (they clog more often than people think)
Onboard tanks? Make sure your tank’s vent isn’t blocked
This might be a good time to bookmark this video guide—we show the full step-by-step, and it’s been a lifesaver for loads of first-time tourers and even a few seasoned pros.
Or weve embedded it here:
You know what? The more you do it, the more second nature it becomes. It’s just like hitching up or levelling out—you stop overthinking it after a while.
At Kimberley, we always recommend re-priming the system after servicing or extended storage. If you’re booking a full motorhome or caravan service, our team can make sure the water system is ready to go before you even hitch up.
Priming your water system might not be glamorous, but it’s a must-do—and once you’ve nailed it, you’ll wonder why it ever felt confusing.
Give it time, don’t rush, and remember: spluttering taps are just your system’s way of saying “hold on, I’m getting there.”
And hey—if you’re still unsure, swing by a Kimberley branch or check out our YouTube video for the full walkthrough. Because a working water system? That’s where proper holidays begin.
 16/02/2026
Exciting news! The Kimberley team is heading to the NEC Birmingham for the Caravan, Camping & Motorhome Show from 17th to 22nd February 2026, and we'd absolutely love to see you there.
If you've been thinking about upgrading your caravan or motorhome, or you're just starting your touring adventure, this is THE event to visit. Trust us, it's brilliant.
 08/01/2026
If you’ve ever found yourself Googling “best time to buy a used caravan” at 10pm with a cup of tea going cold beside you, you’re not alone. We hear this question every single week at Kimberley Caravans and Motorhomes, in Nottingham, in Darlington, on the phone, on emails that start with “Just a quick one…”.
 08/12/2025
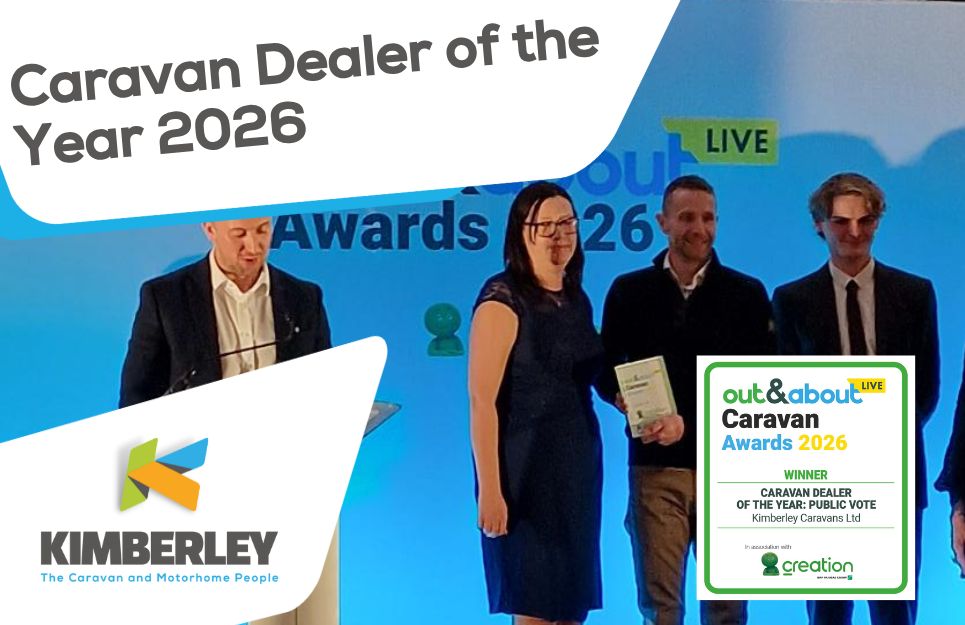
There are moments in business that feel almost surreal, and this one sits right at the top. Kimberley – The Caravans and Motorhome People – have been voted Caravan Dealer of the Year 2026 at the Out & About Awards. Public vote. No panels tucked away in quiet rooms. No mysterious judging criteria. Just real caravanners, motorhomers, weekend wanderers, and lifelong road-trippers choosing the dealer they trust most.
Honestly, that makes it hit a little deeper.